
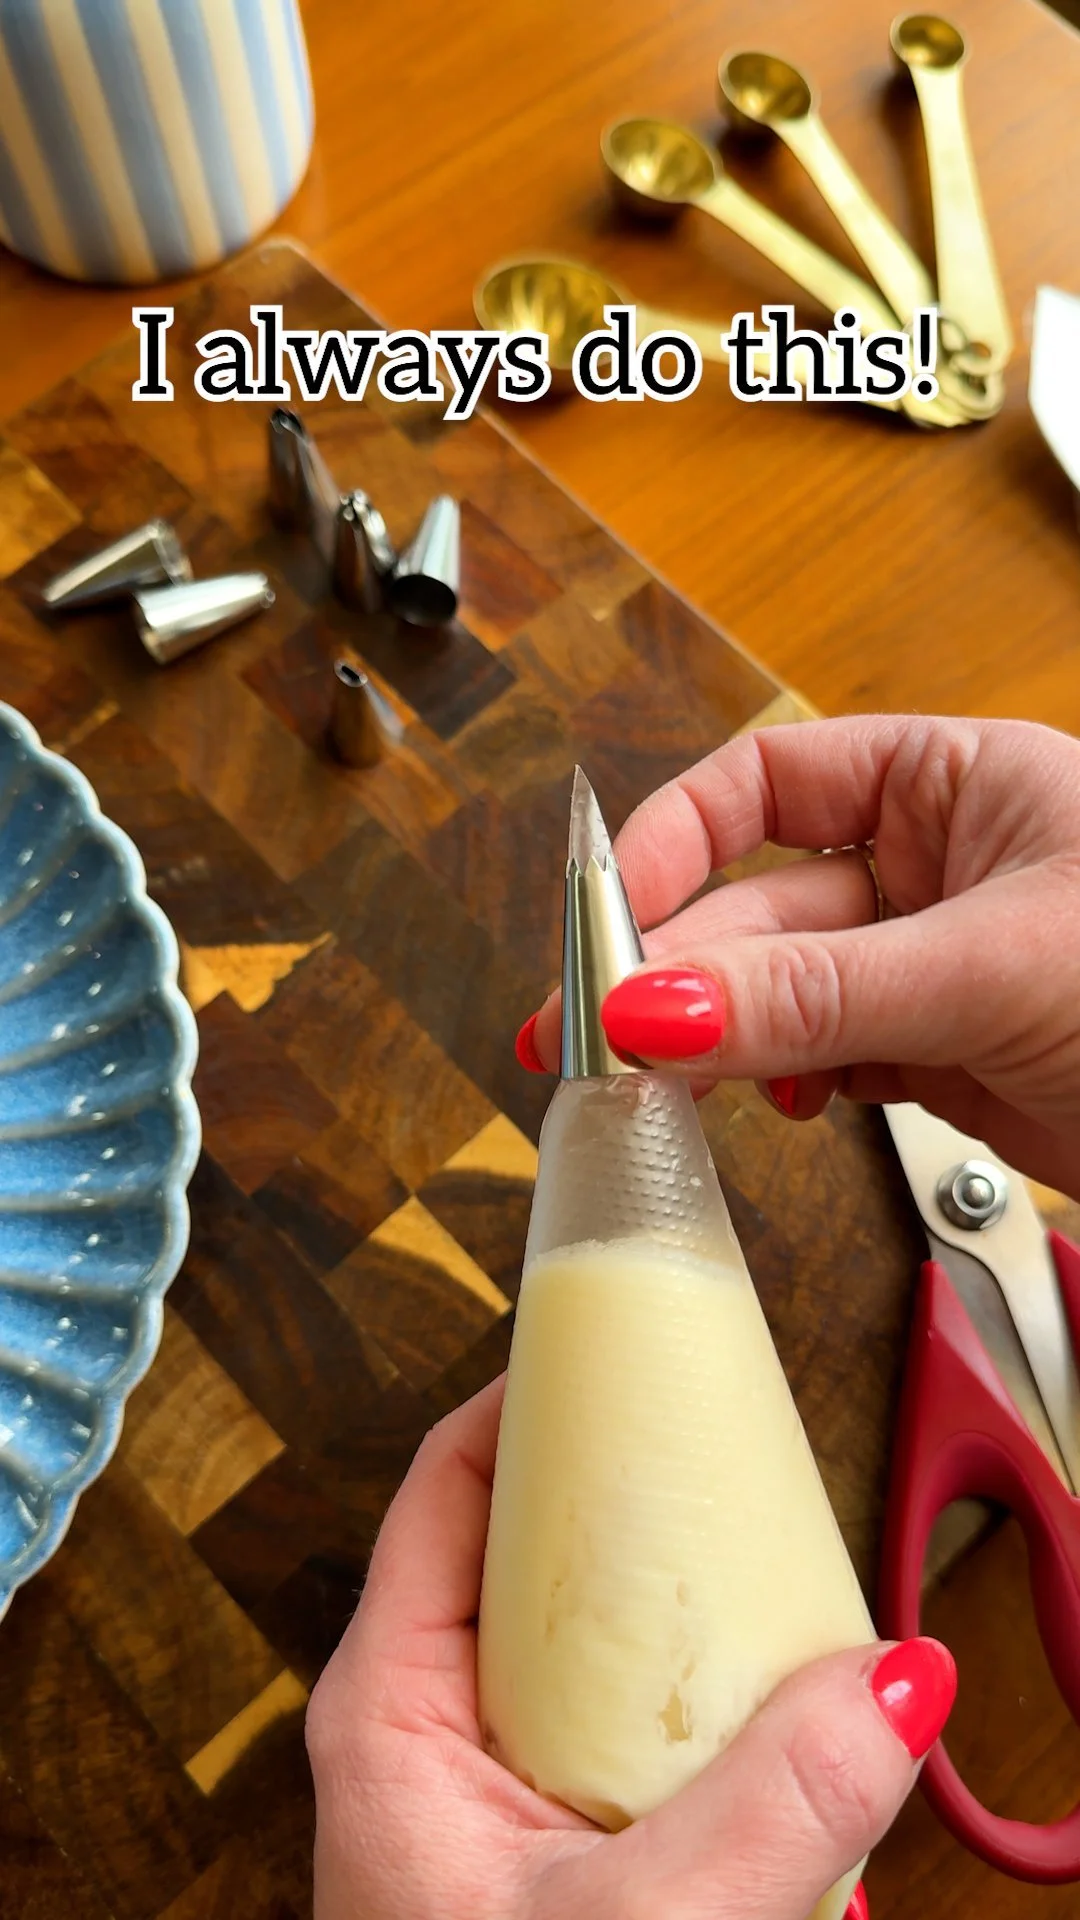
How to Layer a Piping Bag to Easily Change Decorating Tip Designs
Are you tired of making a mess every time you switch piping tips while decorating your cakes or cupcakes? If you find yourself frustrated by the hassle of constantly switching out tips, you’re not alone. Many bakers have tackled this problem, only to discover the beauty of layering. In this article, we’ll explore how to layer a piping bag to simplify your decorating process and elevate your creations without all the fuss.
Why This Works
Layering a piping bag not only saves you time but also minimizes the risk of cross-contamination of colors and textures. This method allows you to seamlessly switch between different decorating tips while keeping your designs consistent. The beauty of this technique lies in its simplicity and effectiveness—ideal for any baker, whether you’re a novice or a seasoned pro.
Main Content
Materials Needed
Before jumping into the layering technique, gather the following materials:
- Piping bag
- Piping tips (various designs)
- Double-sided tape or rubber bands
- Scissors
- Your choice of icing or frosting
- A small bowl (optional, for icing colors)
Step-by-Step Guide
Prepare Your Piping Bag:
Start by cutting the tip of your piping bag to the size needed for your largest piping tip. If using double-sided tape or rubber bands, you may choose to secure them at this point.Layering the Icing:
- Begin with your first color or icing type. Use a spatula to spread a generous amount into the piping bag, reserving enough room for the next layer.
- Place your second icing color or type right on top of the first, cautious not to mix them. The goal is to keep the layers distinct.
Seal the Bag:
Use double-sided tape or a rubber band to secure the top of your piping bag, ensuring there are no leaks. This step is crucial to maintain the integrity of your layers.Attach Your Piping Tip:
Choose one of your decorating tips and attach it to the cut end of the piping bag. Make sure it’s secure to prevent any leaks during use.Squeeze and Decorate:
Begin piping! As you squeeze the bag, you’ll see the layers coming together in beautiful designs. Practice with different pressures to create unique effects.
Expected Results
With this layering technique, you’ll find that changing between decorating tips is quick and clean, allowing you to focus on creativity rather than logistics. Whether you’re aiming for intricate floral designs or simple swirls, this method will help you achieve professional-looking results without the headaches that often accompany piping.
Extra Tips
- Practice Makes Perfect: Before decorating your final project, practice on parchment paper to get a feel for how the layers come together.
- Experiment with Colors: Don’t be afraid to mix and match colors and flavor profiles. Layering is a great time to get creative!
- Clean Between Uses: If you’re switching colors frequently, consider cleaning your tips and bag between uses to prevent clashing colors.
Conclusion
Layering a piping bag is a game-changer for anyone looking to enhance their cake and cupcake decorating. This method not only simplifies the process but also opens the door to creativity with colors and designs. So grab your icing and your piping bag and start experimenting. You’ll be amazed at how easy and effective this technique can be in taking your baking to the next level! Enjoy the journey, and happy decorating!
