
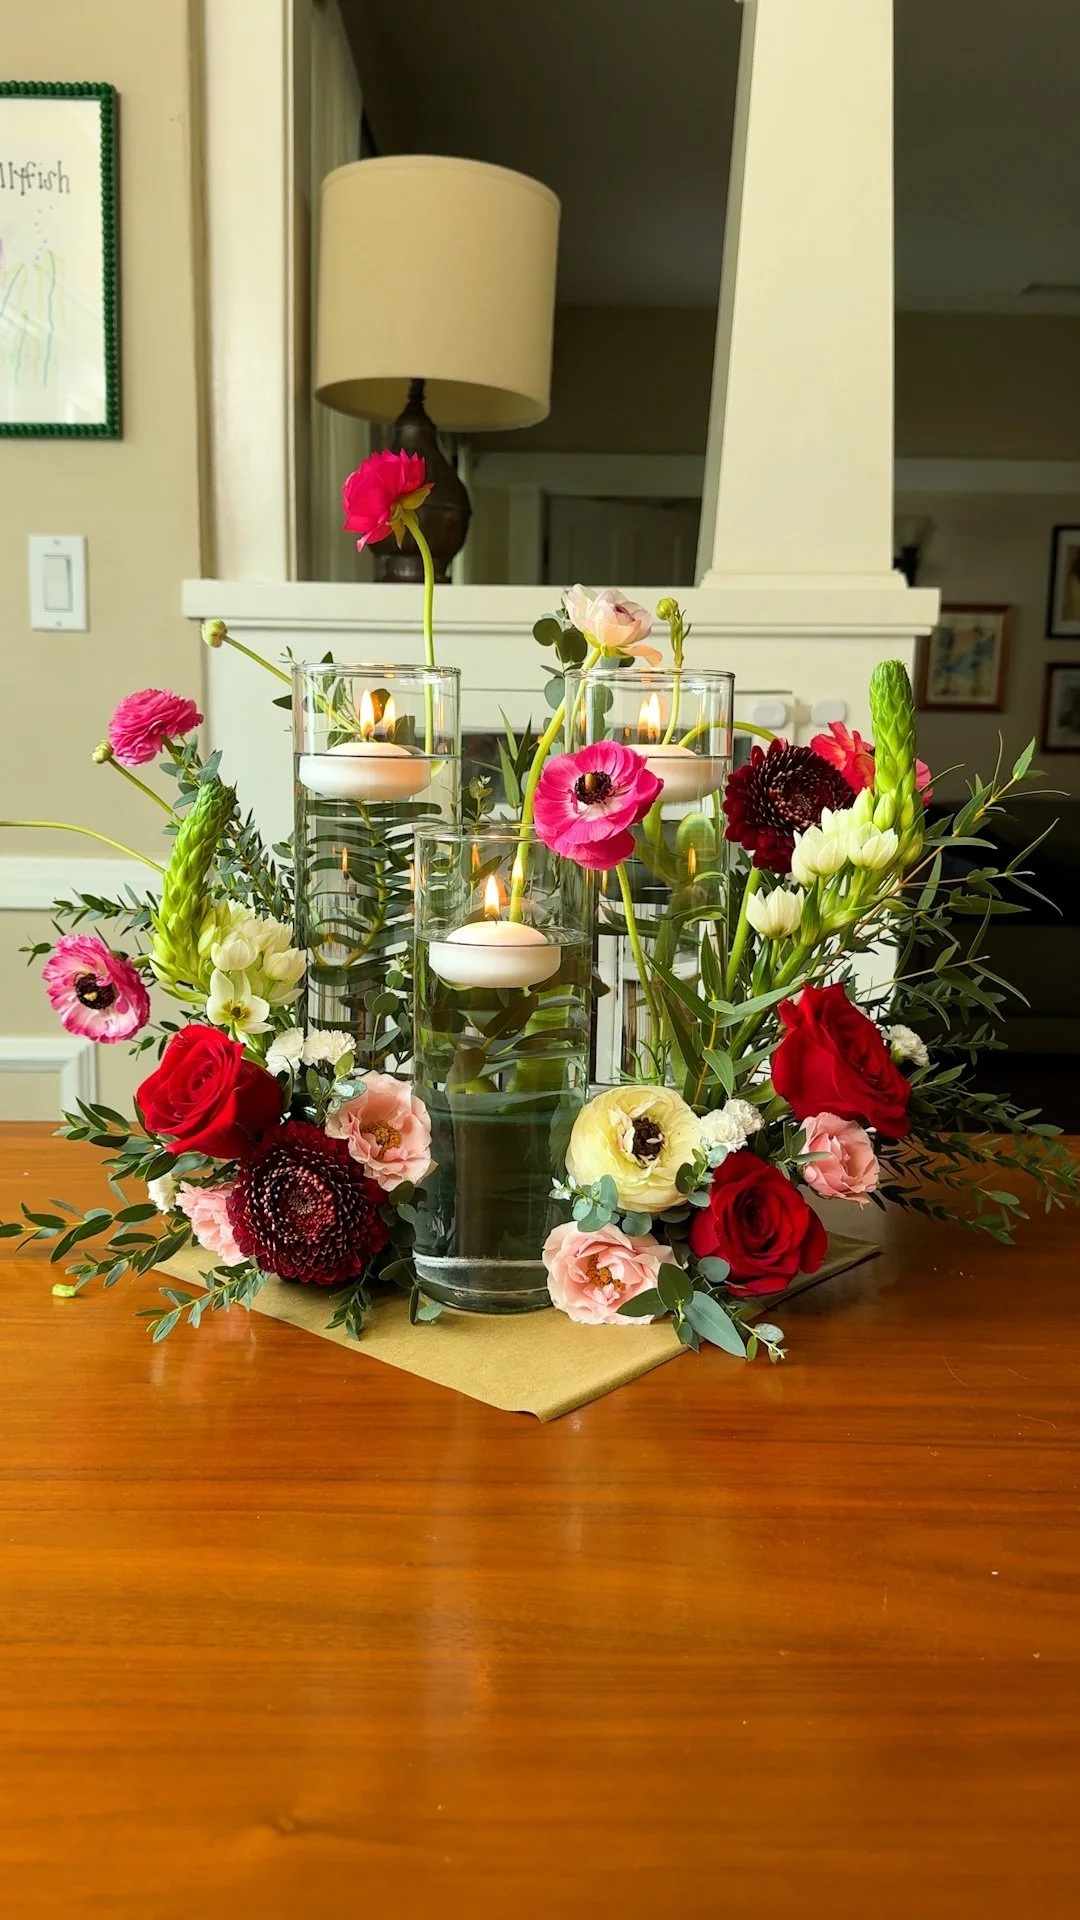
Create Stunning Floating Candle Centerpieces for Your DIY Wedding
When planning a wedding, many couples struggle with the challenge of creating a beautiful atmosphere without breaking the bank. The desire for a magical, romantic ambiance often clashes with budget constraints, leading to frustration. Fortunately, one of the simplest yet most effective solutions is a floating candle centerpiece. Not only can this DIY project save you money, but it also allows you to personalize your décor in a way that perfectly reflects your unique style.
Why This Works
Floating candle centerpieces combine elegance and warmth, evoking a sense of romance that can transform any space. The ethereal glow of candles, combined with water and floral elements, softens the lighting and elevates your wedding’s overall aesthetic. Plus, making them yourself means you can customize the colors, flowers, and designs to match your wedding theme beautifully.
Main Content
Here’s how you can create stunning floating candle centerpieces that will leave your guests in awe.
Materials You’ll Need
- Glass Containers: These can be vases, bowls, or even mason jars.
- Floating Candles: Choose various sizes and colors to create depth.
- Water: Fill your glass containers with room temperature water.
- Florals: Use fresh or artificial flowers; consider using edible flowers for an extra touch of eco-friendliness.
- Accent Lighting: Optional LED string lights or fairy lights for an added glow.
- Decorative Elements: Items like colored rocks, sand, or seasonal accents such as pine cones or leaves.
Step-by-Step Guide
Select Your Containers: Choose the glass containers that resonate best with your wedding theme. Clear glass is a common choice as it allows for versatility in design.
Prepare the Base:
- If you’re using flowers, cut the stems and arrange them in your container. Make sure they can float, so smaller blooms work best.
- Alternatively, place decorative stones or sand at the bottom for a different visual effect.
Add Water: Fill the container with enough water to allow the candles to float without being submerged.
Insert Floating Candles: Gently place your floating candles on top of the water. Make sure there’s enough space for the candles to float without crowding.
Incorporate Lighting: For a magical touch, lay some fairy lights within the arrangement or around the base of the container.
Finishing Touches: Adjust the arrangement until you’re satisfied with the look. Consider displaying your centerpieces on mirrors to enhance the reflection of the candlelight.
Expected Results
By following these steps, you will create stunning floating candle centerpieces that not only captivate your guests but also elevate the overall elegance of your wedding. Imagine the enchanting atmosphere provided by the dancing candlelight reflecting off the water, surrounded by seasonal blooms that match your wedding colors.
Extra Tips
- Safety First: If you’re using real candles, ensure they are securely placed to avoid tipping over. Consider using flameless options to eliminate the risk.
- Plan Ahead: Prepare your centerpieces a day or two before the wedding, but fill them with water and candles only hours before your event to maintain freshness.
- Personalize: Think about adding small, meaningful items to your centerpieces, such as photos or mementos from your relationship, giving a personal touch to your décor.
Conclusion
Creating floating candle centerpieces for your DIY wedding is an engaging project that not only promises to enhance the beauty of your venue but also adds a personal touch to your special day. Embrace the process of crafting these elegant decorations and let your creativity shine. Your guests will be sure to admire the thoughtful, beautiful atmosphere you’ve created, and you will feel proud knowing you brought your vision to life—all while staying within your budget!
