
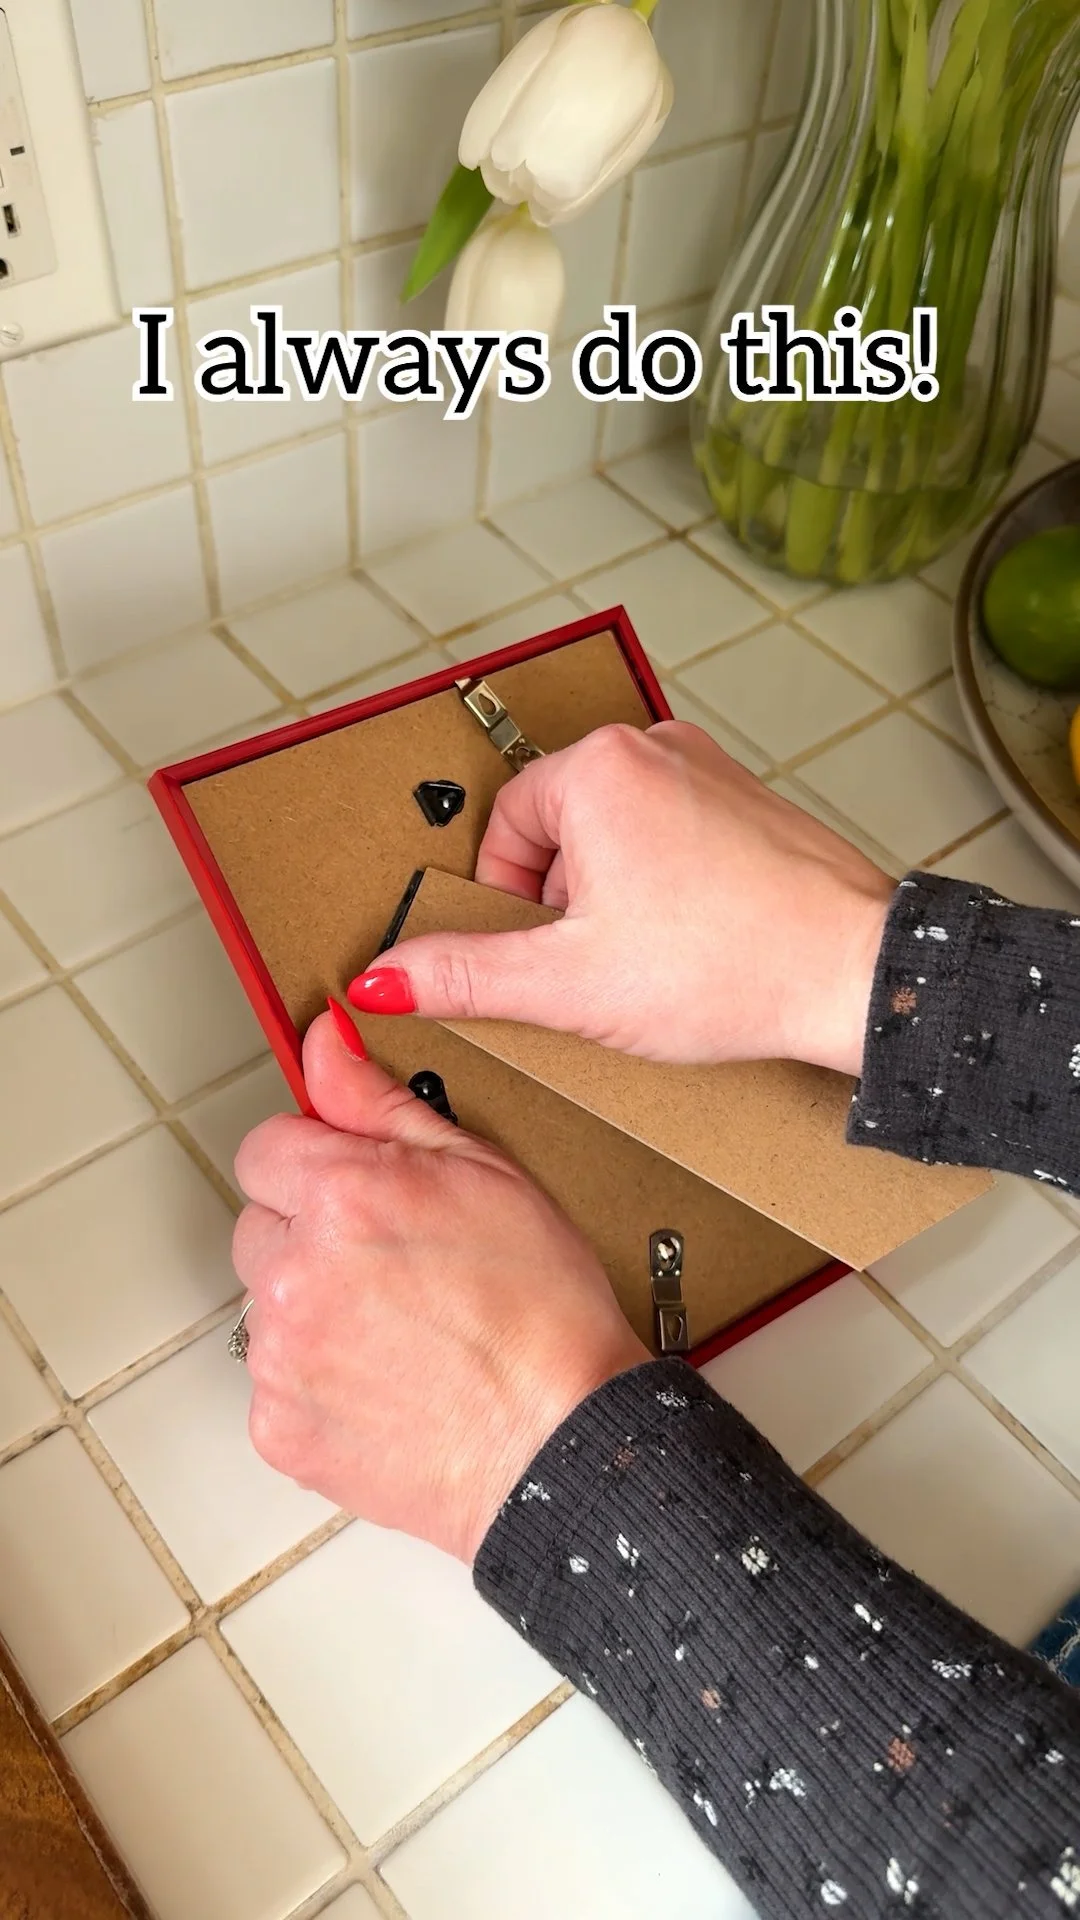
Picture Hanging Hacks: Easy Solutions for Home Decorating
Hanging pictures can feel like a daunting task. You want them to look just right but often end up with crooked frames or a wall that resembles a Swiss cheese aesthetic. Fear not! With a few clever hacks, you can transform that wall into a beautiful gallery without the unnecessary stress. Imagine stepping back and admiring a perfectly styled space where your photos are not just hung but celebrated. Let’s explore simple yet effective strategies that will not only simplify the process but also give you the results you’ve been dreaming about—stunningly displayed art that enhances your home’s decor.
Why This Works
The key to successful picture hanging lies in preparation and tools. When you set the stage with the right techniques and measurements, you eliminate the guesswork and achieve a polished look. Additionally, understanding the psychology of visual arrangement and utilizing practical hacks fosters confidence, making the entire decorating process enjoyable rather than overwhelming. With these tips at your fingertips, you’re equipped to take charge of your decor, create focal points, and express your unique style!
Main Content
Here are some tried-and-true picture hanging hacks that will simplify your home decorating game:
1. Use Painter’s Tape for Layout
Before hammering any nails, grab some painter’s tape and outline where you want each picture to go. This method helps you visualize the arrangement without committing to holes in your wall. You can easily adjust the layout until it feels just right.
2. The Hammer and String Trick
For a precise placement of your picture hangers, tie a piece of string around a small nail. With the nail pressed against the wall, hang your picture on the string. This guarantees perfect alignment every time. Once the nail is in position, you can remove the string and hang your frame.
3. Command Strips for No-Damage Hanging
If you’re renting or simply don’t want to deal with nails, Command strips are lifesavers. They come in various sizes to accommodate different picture weights and can be removed cleanly—no holes left behind. Perfect for a hassle-free and damage-free experience!
4. The 57-Inch Rule
For consistently beautiful displays, hang artwork at eye level, typically around 57 inches from the floor. This is considered an optimal height for viewing and creates a cohesive aesthetic when multiple frames are displayed together.
5. Create a Template
Use kraft paper to create a template of your picture frames. Cut the paper to match the sizes of your pictures, then tape them to the wall to experiment with placement before committing. This will save time and ensure a perfect layout.
6. Use a Level
Nothing says “amateur” quite like a crooked picture. A small, simple level can save your sanity (and your wall). Just use it to ensure your frames are perfectly straight before securing them.
7. Find the Right Spacing
When hanging pictures in a cluster, maintain equal spacing between frames for a tidy look. About 2-3 inches between each piece is ideal. If you’re creating a gallery wall, consider mixing frame sizes for an artistic flair but keep the spacing consistent.
Step-by-Step Guide
Follow these easy steps to achieve picture-perfect walls:
- Select Your Art: Gather all the pictures or artwork you want to display.
- Plan Your Layout: Use painter’s tape to outline your desired layout or cut out templates from kraft paper.
- Measure and Mark: Measure the center points of each frame and mark them on the wall with a pencil.
- Hang Using Your Chosen Method: Employ nails, Command strips, or your hammer-and-string trick to hang the pictures.
- Adjust and Enjoy: Step back and evaluate your work. Make any adjustments as needed and then sit back to enjoy your beautiful space!
Expected Results
By following these hacks, you’ll learn how to hang pictures with confidence and ease, creating art displays that enhance your home’s atmosphere. You’ll discover the perfect balance between aesthetics and functionality, leaving you with a home that reflects your personal style.
Extra Tips
- Consider lighting: If possible, position your pictures in areas that can be enhanced by natural light or spotlights to showcase your artwork effectively.
- Change it up: Don’t hesitate to swap out pictures every season or when your taste evolves; it’s a simple and refreshing way to keep your space feeling new!
Conclusion
Transforming your plain walls into stunning displays of personal history and artistic flair doesn’t have to be a task fraught with stress. Armed with these hacks and a little creativity, you can achieve picture hanging success easily! Now, grab that photo collection, channel your inner interior decorator, and enjoy the delightful process of showcasing your treasured memories and art. Happy decorating!
