
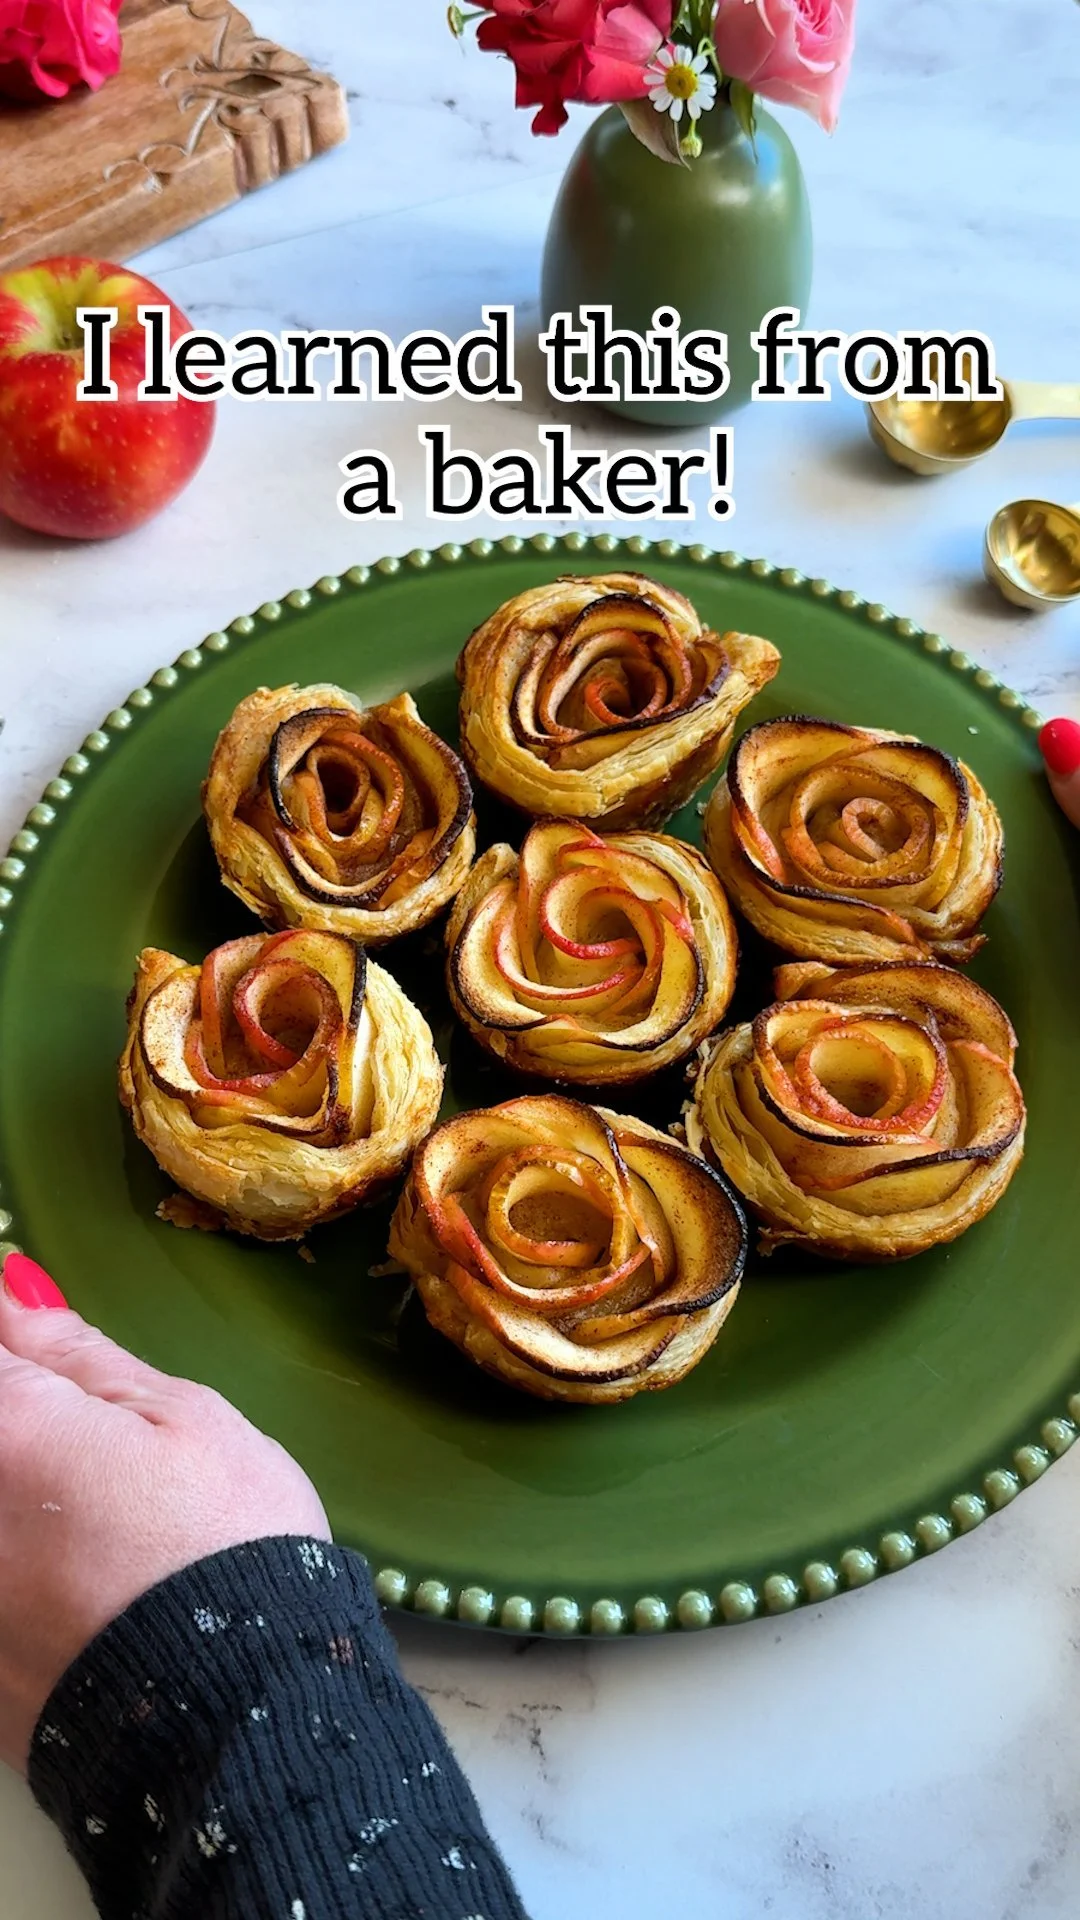
Apple Rose Tarts: Easy, Stunning Apple Dessert for Any Occasion
When it comes to desserts that make a lasting impression, few can beat the elegance of apple rose tarts. These delightful treats not only taste amazing but also look like they belong in a gourmet bakery. If you’ve ever wanted to create a stunning dessert without spending hours in the kitchen, you’re in for a treat. Today, we’ll show you how to whip up these easy and beautiful apple rose tarts that are perfect for any occasion.
Why This Works
The beauty of apple rose tarts lies in their simplicity and the stunning visual effect they create using just a few ingredients. By utilizing thinly sliced apples and a quick pastry base, you can construct these rose-like patterns that are sure to dazzle your guests. This recipe is not only straightforward but incredibly versatile, making it a perfect option for everything from family gatherings to elegant dinner parties.
Ingredients
Before we dive into the step-by-step instructions, let’s gather everything you’ll need:
- 2 medium-sized apples (preferably Granny Smith or Honeycrisp)
- 1 sheet of puff pastry (store-bought or homemade)
- 2 tablespoons of sugar (white or brown)
- 1 teaspoon of cinnamon (optional)
- Juice of half a lemon
- Flour for dusting
- Optional: Apricot jam for glazing
Step-by-Step Guide
Step 1: Prepare the Apples
- Core and Slice: Start by coring the apples and slicing them thinly. Aim for slices around 1/8 inch thick. You can use a mandolin for uniformity or a sharp knife—just be careful!
- Soak in Lemon Juice: Place the apple slices in a bowl, cover them with water, and add the lemon juice. This will help prevent browning and make the apples a bit more pliable for shaping.
Step 2: Prepare the Pastry
- Roll Out the Puff Pastry: On a floured surface, gently roll out the puff pastry to fit your tart pan. If you’re using pre-rolled pastry, simply trim it to fit.
- Cut Strips: Cut the rolled pastry into long strips about 2 inches wide. This will serve as the base for your apple roses.
Step 3: Assemble the Roses
- Layer the Apple Slices: Take the apple slices and lay them on the edge of one of the pastry strips, overlapping them slightly. The curved edges of the apple will create the "petals."
- Roll Up the Strip: Carefully roll the pastry strip, starting from the apple side, to create rose shapes. Tuck the bottom under slightly to secure the rose when placing it in the baking pan.
Step 4: Arrange and Bake
- Arrange in Pan: Preheat your oven to 375°F (190°C). Place each apple rose into a greased muffin tin or tartlet pan.
- Sprinkle Sugar and Cinnamon: For added sweetness and flavor, sprinkle a bit of sugar and cinnamon on top of the roses, if desired.
- Bake: Bake the tarts for about 30-35 minutes, or until the pastry is golden brown and the apples are tender.
Step 5: Finish and Serve
- Glaze (Optional): For a beautiful finish, brush the tops of the tarts with warmed apricot jam right after they come out of the oven to add shine.
- Cool and Serve: Let the tarts cool slightly before serving. A dollop of whipped cream or a scoop of vanilla ice cream pairs perfectly with these delightful treats.
Expected Results
Once you’ve followed these steps, you’ll have a batch of stunning apple rose tarts that are not only delectable but also impressive enough to serve at any gathering. The floral presentation will wow your guests, and they’ll never guess how easy they were to make!
Extra Tips
- Use Different Apples: Experiment with different apple varieties for varying sweetness and textures.
- Add Nuts or Raisins: For extra flavor and crunch, consider adding chopped nuts or raisins to the pastry before rolling it up.
- Make Ahead: These tarts can be assembled a few hours in advance and stored in the fridge before baking for a hassle-free dessert option.
Conclusion
With these easy apple rose tarts, you can impress family and friends without spending all day in the kitchen. They’re an ideal dessert that strikes the right balance between beauty and simplicity. So go ahead, embrace your inner baker, and create a delightful treat that’s sure to leave everyone asking for seconds! Enjoy every bite of your stunning creation, and remember that the best desserts are the ones that bring a smile to your face.
