Delicious Multigrain Sourdough Bread :
As you enter your kitchen, the smell of fresh bread fills the air. It wakes up your senses and starts a culinary adventure. Making your own multigrain sourdough bread at home is a journey. It nourishes your body and feeds your soul.
You’ll learn the art and science of making the perfect loaf. You’ll master sourdough fermentation and perfect shaping and baking.
Whether you’re an experienced baker or just starting, this article will help you. You’ll learn to make homemade sourdough that’s as good as the best bakeries. Get ready for a culinary adventure that will fill your kitchen with the smell of warm, crusty bread. You’ll feel proud and accomplished with every slice.

Table of Contents
Understanding the Art of Multigrain Sourdough Bread Making
Making delicious multigrain sourdough bread is a mix of science and creativity. At its core is the amazing sourdough fermentation process. This process not only makes the bread taste better but also adds lots of nutrients.
The Science Behind Sourdough Fermentation
Sourdough fermentation uses wild yeast and good bacteria to turn simple ingredients into a tasty loaf. As the dough ferments, these microbes break down starches and proteins. They create aromatic compounds that give the bread its unique taste and smell.
Benefits of Multiple Grain Types
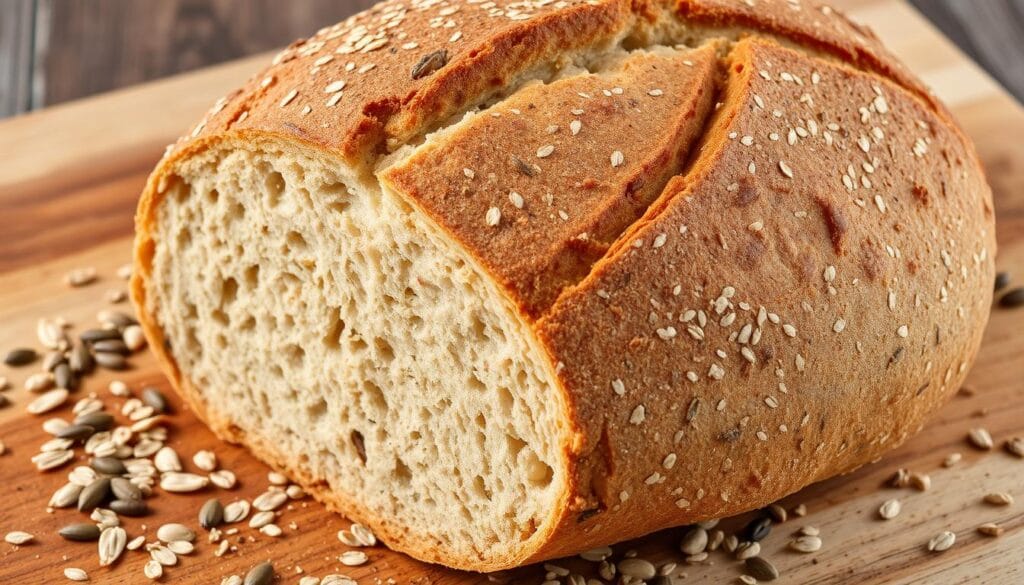
Using different grain types in sourdough bread has many benefits. Each grain adds its own vitamins, minerals, and fiber. Mixing grains creates a richer flavor and boosts the bread’s nutritional value.
Essential Equipment for Baking
- Dutch oven: Crucial for achieving a crisp, golden crust and even baking.
- Proofing baskets: These help maintain the bread’s shape during the final rise.
- Baking stone or steel: Provides a consistent heat source for optimal oven spring and crust development.
- Digital scale: Ensures precise ingredient measurements for consistent results.
Understanding sourdough fermentation, the benefits of multigrain flours, and the right baking tools will help you make amazing homemade multigrain sourdough bread.
“The magic of sourdough lies in the patient, unhurried dance between microbes and flour, resulting in a bread that is both nourishing and delightful.” – Renowned Artisan Baker
Creating and Maintaining Your Sourdough Starter
Starting your sourdough bread-making journey means creating a lively sourdough starter. This mix of wild yeast and bacteria is key to making that tangy, chewy sourdough loaf. Let’s look at how to make and keep your sourdough starter alive.
Kickstarting Your Starter
To start, you need flour, water, and patience. Mix equal parts whole wheat or rye flour and water in a clean jar. Then, cover it loosely and let it sit at room temperature for 24 hours. This first step helps the wild yeast and bacteria grow, starting your sourdough starter.
Feeding and Maintaining the Starter
For the next few days, keep feeding your starter. Throw away some of the old mixture and add fresh flour and water. The best mix is 1 part starter, 1 part flour, and 1 part water. As it gets more active, feed it twice a day.
Keep your starter at room temperature but away from direct sunlight or heat. This helps the microorganisms stay in balance. With regular care, your starter will become bubbly and ready for baking.
Harnessing the Power of Wild Yeast
The magic of sourdough comes from wild yeast. Unlike commercial yeast, wild yeast is a mix of many microorganisms. As you feed and care for your starter, the wild yeast grows. This growth makes the starter rise, giving sourdough its special flavor.
Learning to care for your sourdough starter is crucial. With patience and effort, you’ll get a delicious, homemade loaf. This loaf will show off the true taste of sourdough.
Essential Ingredients for Perfect Multigrain Sourdough
Making a delicious multigrain sourdough bread needs the right ingredients. It’s all about mixing the best flours, grains, and adding salt and water.
Types of Flour Combinations
For the perfect texture and taste, mix different flours. Whole wheat flour gives it a hearty feel and a nutty taste. Rye flour adds a sweet flavor and a complex smell.
Spelt flour is also great, with its soft, sweet taste. It’s a key part of your flour mix.
Selecting Quality Grains and Seeds
Choose the best whole grains and seeds to make your sourdough better. Oats, millet, quinoa, and sunflower seeds add texture and flavor. They also boost vitamins, minerals, and fiber.
Salt and Water Requirements
Getting the salt and water right is key for a great sourdough. The right salt enhances the taste and helps with fermentation. The water level affects the dough’s hydration, which shapes the crumb and crust.
“The secret to a truly exceptional multigrain sourdough lies in the thoughtful selection and harmonious blending of its essential ingredients.”
Step-by-Step Mixing and Kneading Process
Making delicious multigrain sourdough bread starts with mixing and kneading. This step is key for the bread’s texture and taste. Let’s look at the important techniques for the perfect sourdough.
The first step is the autolyse method. It lets flour and water rest before kneading. This method makes the dough easier to stretch and improves gluten development. After autolyse, add the sourdough starter, salt, and extra grains or seeds to make your dough.
- Begin by mixing flour and water until it’s shaggy. Let it rest for 30 minutes to an hour. This lets the flour soak up the water fully.
- After resting, add the sourdough starter, salt, and extra grains or seeds. Start kneading the dough. You can do this by hand or with a stand mixer. Keep kneading until you get the right sourdough mixing techniques and dough kneading.
- Use the stretch and fold method to strengthen the dough. Fold and stretch the dough every 30 minutes for the first few hours. This makes the dough strong and stretchy.
Learning sourdough mixing techniques and dough kneading is key for great multigrain sourdough. With time and effort, you’ll get better at working with the dough. Your bread will look amazing and taste great.
| Technique | Description | Benefits |
|---|---|---|
| Autolyse | Allowing the flour and water to rest and hydrate before kneading | Enhances dough extensibility and improves gluten development |
| Stretch and Fold | Gently stretching and folding the dough every 30 minutes during bulk fermentation | Creates a strong, extensible dough structure |
Mastering the Fermentation and Proofing Stages
Making the perfect multigrain sourdough bread needs you to know about fermentation and proofing. These steps are key to getting the flavor and texture right in your homemade bread.
Primary Fermentation Guidelines
The primary sourdough fermentation is where the magic happens. Keeping the temperature between 70-85°F and letting it ferment for 8-12 hours is crucial. This stage lets the yeasts and bacteria in your starter work their magic. They break down the starches and proteins, giving your bread its tangy flavor and airy texture.
Final Proofing Techniques
- After the first fermentation, it’s time to shape your dough for the final proofing techniques. This stage is key for the final rise and the loaf’s structure.
- Shape the dough into your desired form and put it in a proofing basket or pan. Let it proof at 65-75°F for 2-4 hours. This will make your loaf beautifully risen and ready for the oven.
- Watch the dough’s volume increase and do the “poke test” gently. This will tell you when it’s perfectly proofed and ready for baking.
By getting good at sourdough fermentation and proofing techniques, you’ll make multigrain sourdough bread that’s soft, airy, chewy, and full of flavor. Your family and friends will love it.
Shaping Techniques for Sourdough Bread Bowl Creation
Making the perfect sourdough bread bowl needs skill and knowledge of bread shaping techniques. These skills are key to making great sourdough bread. They can take your homemade bread to the next level.
Start with sourdough dough that’s well-fermented and ready. Move it to a floured surface carefully, so you don’t flatten it. Use your fingers to shape it into a tight ball. This first step is important for the final shape of your bread bowl.
- For a classic look, stretch and tuck the dough into a round shape. Be gentle to keep the dough’s structure intact.
- To get a clear rim, use your knuckles to make a shallow dent around the dough. This keeps the bread bowl’s shape while it bakes.
- Try different scoring patterns to make your bread look interesting. Simple cuts can make the bread look better and feel different.
The secret to great sourdough bread bowl shaping is finding the right balance. With practice and care, you’ll make loaves that will wow everyone.

Learning these bread shaping techniques will help you make stunning sourdough bread bowls. They’ll make your baking at home even better.
Baking Methods and Temperature Control
Making the perfect multigrain sourdough bread is all about finding the right baking methods and controlling the temperature. You can use the classic Dutch oven method or the versatile baking stone. Each way has its own benefits for getting a great crust and a tasty inside.
Steam Baking Essentials
Adding steam during baking changes the game for sourdough. It makes the crust crisp and shiny, keeping the bread moist. You can use a Dutch oven or create steam in your oven with a pan of hot water.
Crust Development Tips
Getting the crust right is key to great sourdough. Watch the temperature and baking time closely. Start with a hot oven, around 450°F (230°C), to help the crust form fast. Then, lower the temperature to 400°F (200°C) to cook the inside fully without burning the outside.
Using a baking stone or steel can also help. They spread heat evenly, making the crust crispier.
Mastering steam baking and temperature control can make your multigrain sourdough bread amazing. You’ll get a loaf that looks great and tastes even better, impressing everyone.
Flavor Variations and Add-ins
Get creative with your multigrain sourdough bread. You can make savory garlic bread or sweet chocolate chip bread. The choices are endless.
For sourdough garlic bread, mix in minced garlic. It adds a strong flavor. Or, use roasted garlic for a sweeter taste.
Love sweets? Try chocolate chip sourdough bread. Add high-quality chocolate chips for a mix of tangy and sweet.
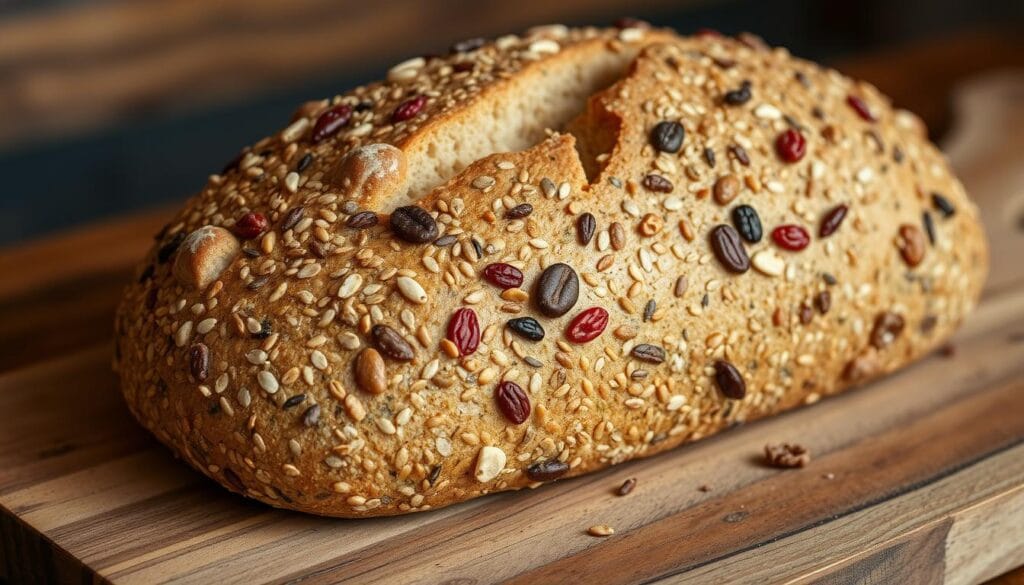
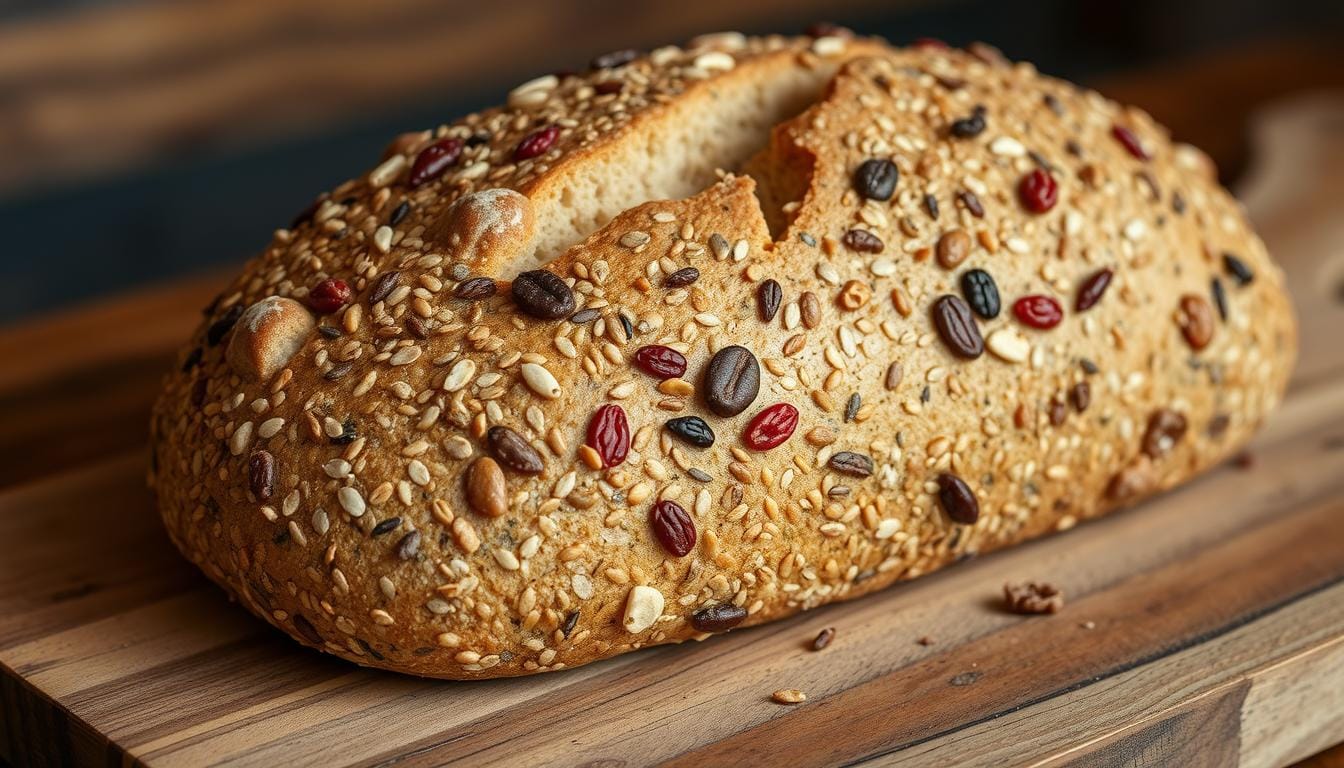
Make your flavored sourdough even better with seeds, nuts, and dried fruits. Sunflower seeds and walnuts add crunch. Dried cranberries and apricots bring sweetness.
| Flavor Variation | Ingredients | Suggested Quantity |
|---|---|---|
| Sourdough Garlic Bread | Minced garlic, roasted garlic cloves | 1-2 tablespoons minced garlic, 3-5 roasted garlic cloves |
| Chocolate Chip Sourdough Bread | High-quality chocolate chips or chunks | 1/2 – 3/4 cup |
| Seeded Sourdough | Sunflower seeds, sesame seeds, chopped walnuts | 1/4 – 1/2 cup total |
| Fruited Sourdough | Dried cranberries, apricots, raisins | 1/4 – 1/2 cup |
Adjust the dough’s water when adding ingredients. This keeps it right. Try different flavors to find your favorites.

Storage and Preservation Tips
Keeping your homemade multigrain sourdough bread fresh is key. After baking, knowing how to store it is important. This ensures your bread stays fresh and flavorful.
Proper Cooling Methods
Let your multigrain sourdough cool completely before storing. Cooling slowly helps the bread’s texture. Place it on a wire rack, not in plastic or airtight containers, until it’s room temperature.
Freezing Guidelines for Sourdough Bread Preservation
Freezing is a great way to keep your sourdough bread fresh longer. Wrap the cooled loaf in plastic wrap or foil, then in a freezer-safe bag. This keeps the bread’s texture and taste. Thaw at room temperature when you’re ready to eat it.
| Storage Method | Shelf Life | Recommended Technique |
|---|---|---|
| Room Temperature | 3-4 days | Store in a paper or cloth bag, away from moisture and heat |
| Refrigerator | 5-7 days | Wrap tightly in plastic or store in an airtight container |
| Freezer | 2-3 months | Wrap tightly in plastic or foil, then place in a freezer-safe bag or container |
By using these tips, you can enjoy your homemade multigrain sourdough bread for a long time. It stays delicious and fresh for days or weeks.
Troubleshooting Common Sourdough Issues
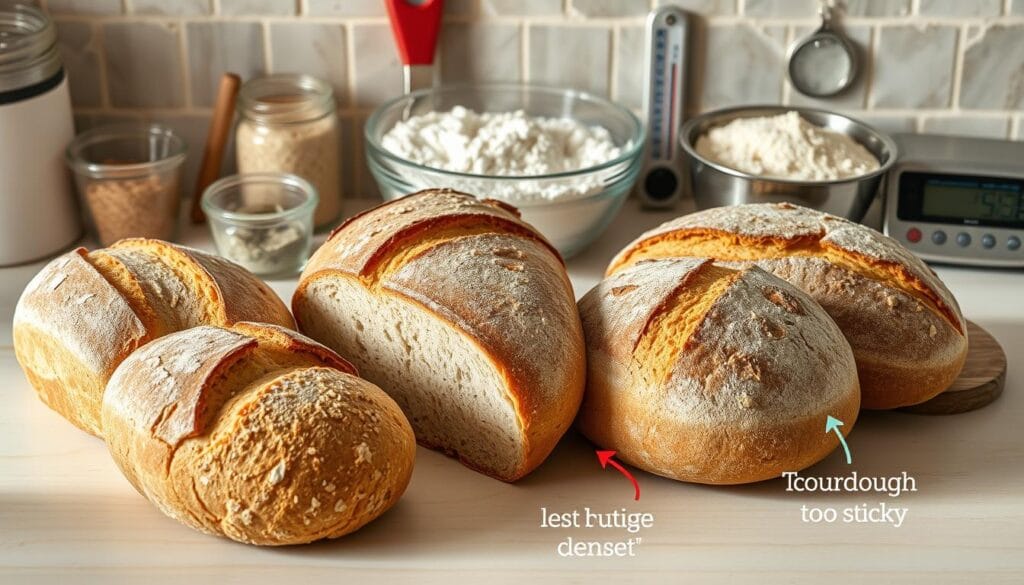
Baking sourdough bread at home is rewarding but comes with challenges. You might face issues like a dense crumb or uneven fermentation. This guide will help you solve these sourdough troubleshooting problems and get the sourdough consistency you want.
Adjusting Hydration Levels
A dense crumb often means your dough’s hydration is off. Try adding a bit more water to your recipe. Do this slowly until your bread turns out right.
Mastering Fermentation Times
Irregular fermentation can make your bread tough or flat. Watch how your dough changes during fermentation. Adjust the times to get the best results.
Maintaining Consistency Across Seasons
Seasonal changes can affect your sourdough. Find ways to keep your baking consistent all year.
| Common Sourdough Issue | Probable Cause | Recommended Solution |
|---|---|---|
| Dense, heavy crumb | Insufficient hydration | Increase water content in the recipe |
| Tight, gummy crumb | Underproofing | Extend primary fermentation and/or final proof times |
| Flat, dense loaf | Overproofing | Reduce primary fermentation and/or final proof times |
Fixing sourdough issues is about paying attention and making small changes. With time and effort, you’ll bake perfect sourdough bread.

“Baking is a science, and troubleshooting is the key to mastering it.”
Conclusion
As you’ve started your journey in making multigrain sourdough bread, we hope you now see the joy of baking your own bread. You’ve learned about sourdough fermentation and how to knead perfectly. This knowledge helps you make bread that’s not only tasty but also good for you.
Trying out different grains and flavors is exciting. You can mix whole wheat, rye, or spelt to create unique breads. Let your creativity shine and enjoy the process.
The real value of homemade bread goes beyond just taste. Making your own keto sourdough bread means you can pick the best ingredients and avoid additives. You get to enjoy fresh, nutritious bread that store-bought can’t match. Keep improving your skills, try new recipes, and feel proud of every slice you bake.

