Easy Homemade Bread Recipe:
The smell of fresh bread in the kitchen is a joy. Making bread recipe from scratch might seem hard, especially if you’re new to baking. But, you can make a warm, crusty loaf in just one hour. It’s easier than you think.
Today, I’ll share a simple recipe and tips to help you bake like a pro. You’ll be amazed at how easy it is.
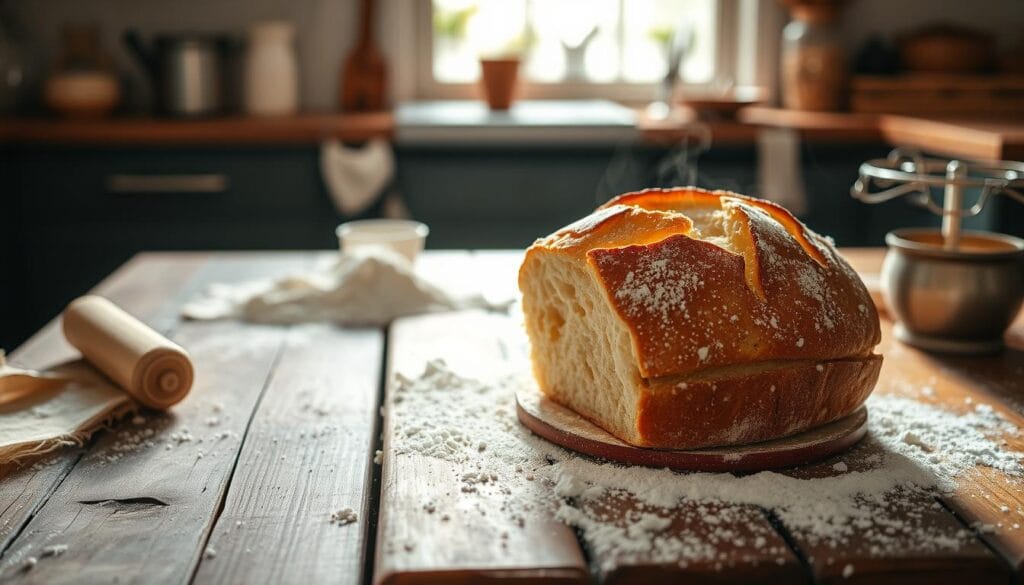
Table of Contents
Key Takeaways
- Discover a simple, one-hour homemade bread recipe that’s perfect for beginners.
- Learn the essential ingredients and techniques for baking delicious, scratch-made bread at home.
- Understand the role of flour, yeast, and salt in achieving the perfect bread texture and flavor.
- Explore optional ingredients to enhance the taste and aroma of your Easy Homemade Bread Recipe.
- Master the step-by-step mixing, kneading, and baking process for professional-quality results.
Essential Ingredients for Your Perfect Bread Recipe
Baking homemade bread recipe is a rewarding experience. It starts with the right ingredients. To make your perfect loaf, you need to know the essential elements.
Understanding Different Types of Flour
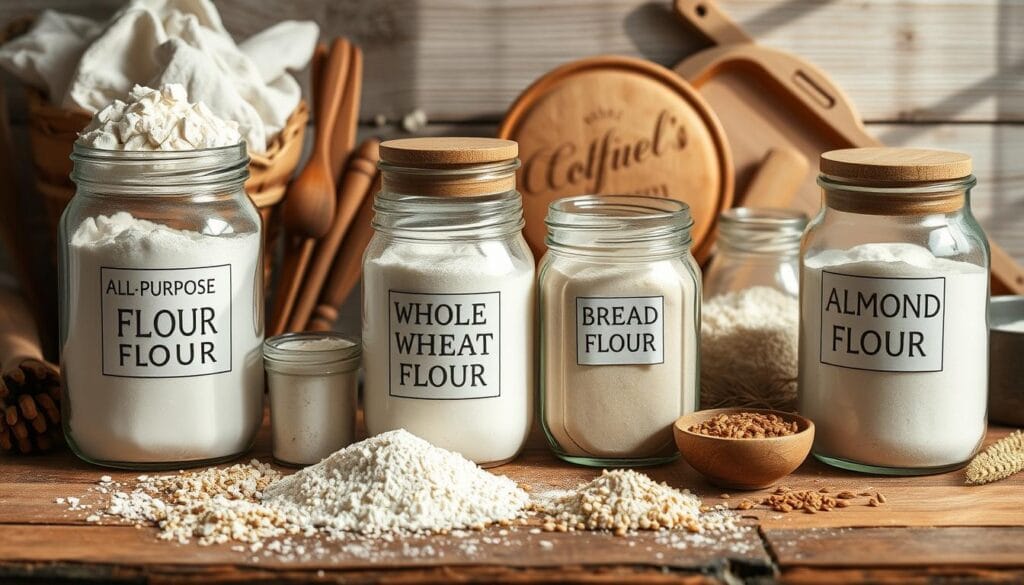
The foundation of any bread is the flour. There are several types to choose from, each with unique properties. All-purpose flour is versatile, while bread flour makes the bread chewier.
Whole wheat flour adds a nutty flavor and more fiber.
The Role of Yeast and Salt
Yeast makes your bread light and airy. It’s key for the rising and leavening process. Salt enhances flavor and controls yeast for the best results.
Optional Ingredients for Enhanced Flavor
- Herbs and spices: Rosemary, thyme, or garlic can add depth and interest to your bread.
- Honey or sugar: A touch of sweetness can balance the savory flavors.
- Butter or oil: These fats can contribute to a richer, more tender crumb.
- Milk or eggs: Adding these dairy ingredients can result in a softer, more enriched bread.
By understanding the role of these key bread ingredients, you’ll be well on your way to crafting the perfect homemade loaf. Experiment with different types of flour, yeast, and salt combinations to find your signature flavor profile.
Required Kitchen Tools and Equipment
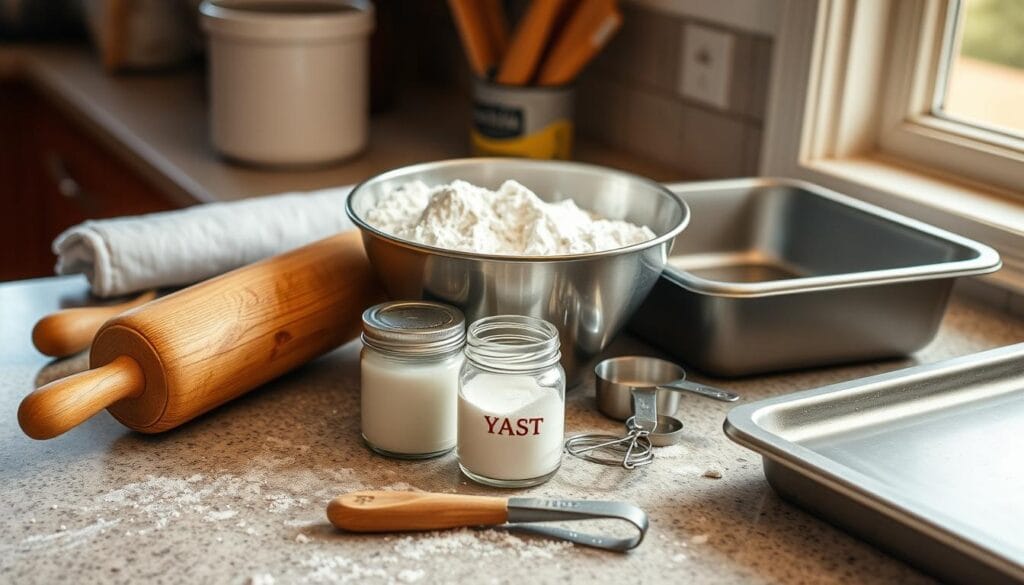
Baking homemade bread needs some key tools and equipment. From mixing bowls to bread pans, the right gear makes bread-making easy. Let’s look at the must-have items for your bread-making journey.
Mixing Bowls
A good set of mixing bowls is crucial for bread baking. Choose stainless steel or glass bowls for durability and easy cleaning. Having different sizes is helpful for various recipes and dough batches.
Bread Pans
Bread pans are essential for rising and baking. Pick from various shapes and sizes, like loaf pans or baguette pans. Make sure your pans are high-quality, like cast iron or stoneware, for even heating and easy dough release.
Kneading Tools
- Dough scraper: A dough scraper is a must-have for easily handling and shaping your bread dough.
- Bench scraper: Use a bench scraper to clean your work surface and divide dough into portions.
- Bread lame or scoring knife: This sharp tool helps you create decorative slashes on the surface of your bread before baking.
Baking Equipment
| Item | Purpose |
|---|---|
| Baking sheet | Bake free-form loaves or rolls on a baking sheet. |
| Baking stone | Provides even heat distribution for a crisp crust. |
| Oven thermometer | Ensures accurate oven temperature for perfect baking. |
With these essential tools and equipment, you’re ready to make delicious homemade bread. Happy baking!
Step-by-Step Mixing and Kneading Process
Learning to mix and knead bread dough is crucial for a perfect loaf. With a few simple steps, your homemade bread will always be a hit.
Proper Kneading Techniques
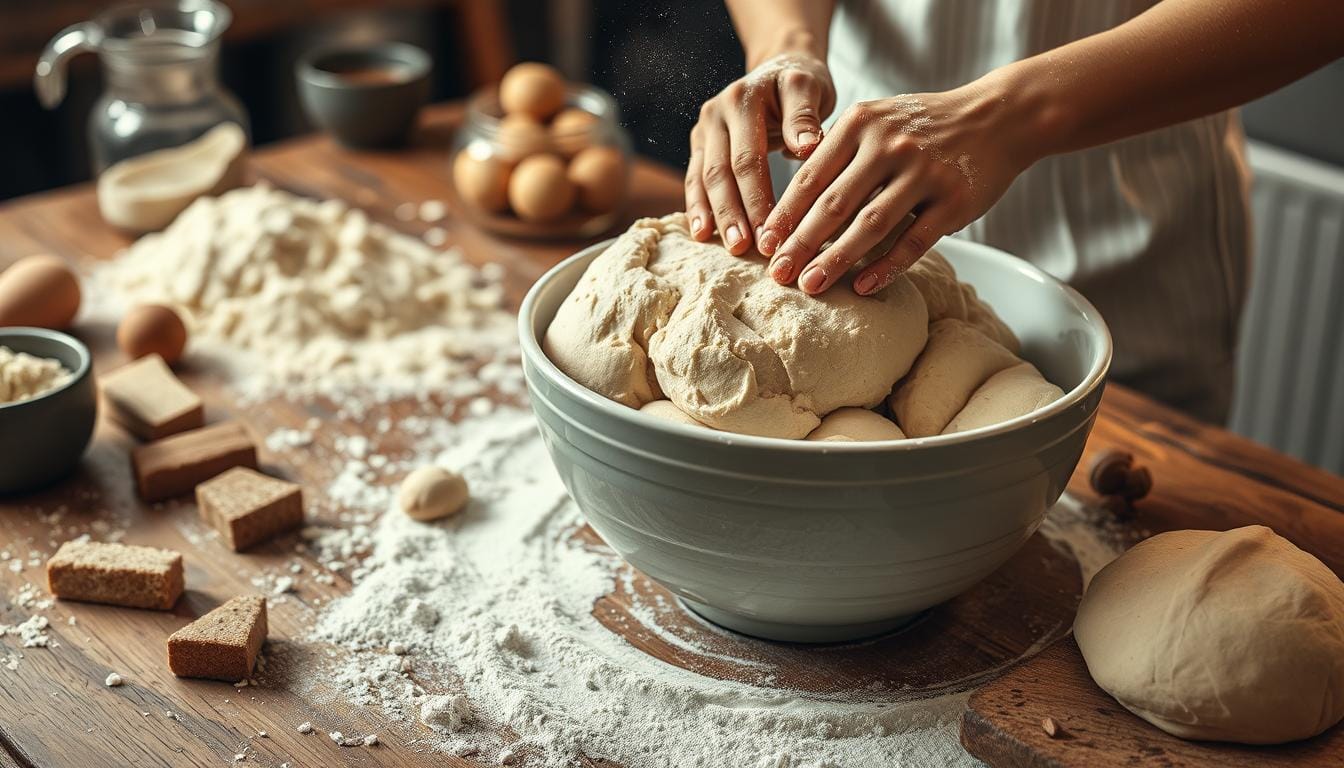
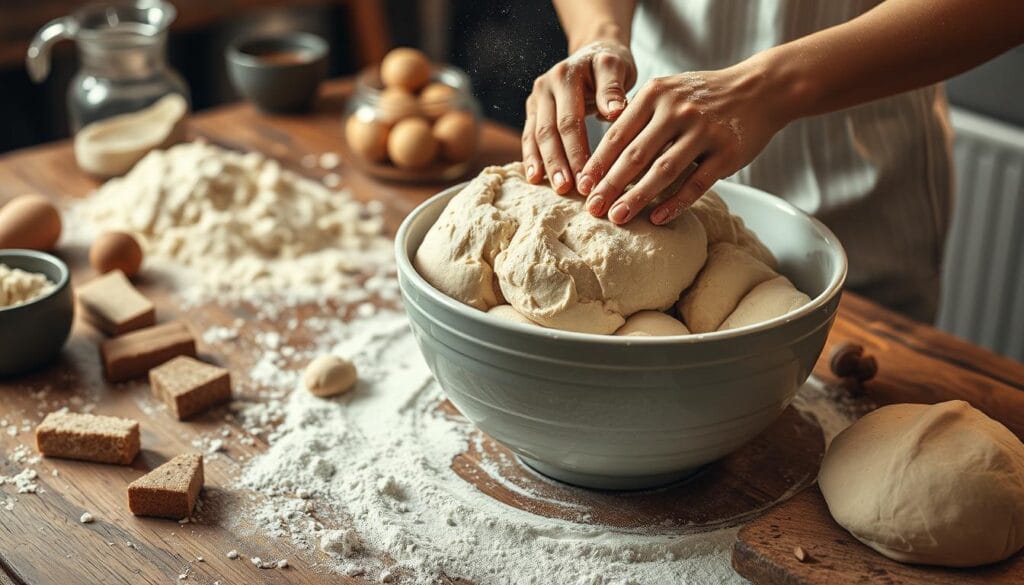
Kneading is key to bread’s texture and rise. Start by pushing the dough away with your heel, then fold it back. Keep doing this, rotating the dough, for about 10 minutes. This makes the dough smooth and elastic.
Visual Cues for Perfect Dough Consistency
- The dough should feel slightly tacky but not sticky.
- When you poke it, it should spring back slowly.
- It should look smooth and even, without any dry or lumpy spots.
Common Mixing Mistakes to Avoid
- Overmixing: This makes bread tough and dense. Stop mixing when it’s smooth and elastic.
- Undermixing: Not kneading enough can make the bread crumbly. Keep kneading until you can stretch a piece thin without it tearing.
- Incorrect water temperature: Water that’s too hot or cold can harm the yeast. This stops the dough from rising.
Mastering mixing and kneading will help you bake the perfect homemade bread. Watch for visual cues and steer clear of common mistakes for the best results.
Proofing and Shaping Your Bread Dough
Learning to proof and shape your dough is key to making perfect homemade bread. This step lets your dough rise and develop its flavor and texture. It’s the start of a wonderful baking journey.
Proofing, or rising, is vital. It lets yeast ferment and gluten relax. This makes your bread light and airy. Let your dough proof for 30 minutes to an hour, or until it doubles in size.
After proofing, shape your dough into your desired form. You can make simple loaves or fancy braids. Shaping not only looks good but also affects the bread’s texture. Handle the dough gently to keep it light and airy.
| Proofing Tip | Shaping Technique |
|---|---|
| Use a warm, draft-free environment for proofing to ensure the dough rises evenly. | Gently stretch and fold the dough to create a tight, smooth surface for baking. |
| Cover the dough with a damp towel or plastic wrap to prevent it from drying out. | For a classic loaf shape, roll the dough into a log and place it in a greased bread pan. |
| Monitor the rise time closely, as over-proofed dough can result in a dense, flat texture. | Experiment with braiding, shaping into rolls, or even creating decorative designs for a unique presentation. |
Mastering proofing and shaping will help you make loaves that look great and smell amazing. Enjoy the journey and the joy of baking a golden-brown masterpiece.
Baking Tips for Golden-Brown Crust
Getting a perfect golden-brown crust on homemade bread is an art. With a few bread baking tips, you can improve your baking. This will make your loaf’s crust crunchy and delicious.
Temperature and Timing Guidelines
To get a golden crust, know the right bread temperature and baking time. Preheat your oven to 450°F (230°C). This high heat makes the crust crisp and the inside just right.
Bake for 20-25 minutes. This will make the crust golden and perfect.
Steam Methods for Crusty Bread
Adding steam to your oven changes the game for a golden crust. Place a shallow dish of hot water on the bottom rack. This creates steam.
Or, spritz your bread with water before baking. Use a spray bottle to mist the oven walls at the start. This steam helps the dough rise and crust to become crispy and shiny.
Checking for Doneness
It’s hard to know when your bread is done. But there are ways to check. Tap the bottom of the loaf. It should sound hollow.
Use a meat thermometer too. The internal temperature should be between 200-205°F (93-96°C). If the crust gets too dark, cover it with foil and bake more until it’s done.
With these bread baking tips, you’ll make golden-brown crust on your homemade bread. Enjoy the tasty results of your effort!
Delicious Bread Recipes to Try: From Banana Bread to Stottie Cake
If you’re a fan of baking at home, you know the joy of trying new recipes and experimenting with different ingredients. Whether you’re in the mood for a moist, flavorful banana bread or looking to explore unique recipes like the famous Stottie cake, there’s something for everyone. In this article, we’ll cover four diverse bread recipes that you can try, each offering something special.
1. Banana Bread Recipe No Butter: A Healthier Twist on a Classic
Banana bread is a beloved treat, but if you’re looking to cut back on butter or avoid it altogether, there are plenty of alternatives that keep your loaf just as delicious. Try this banana bread recipe no butter, where we substitute butter with healthier options like yogurt or applesauce. This recipe keeps the bread moist and tender while reducing the overall fat content, making it a guilt-free indulgence.
With ripe bananas, whole wheat flour, and just a hint of cinnamon, this recipe is both wholesome and satisfying. You can enjoy it for breakfast, as a snack, or even as a dessert.
2. FAGE Banana Bread Recipe: Creamy, Moist, and Delicious
For those who want to add a touch of creaminess to their banana bread, the FAGE banana bread recipe is a great choice. FAGE Greek yogurt offers a rich and creamy texture that makes the banana bread extra moist, with a slight tang that complements the sweetness of ripe bananas. This recipe results in a more decadent loaf while still being relatively healthy compared to traditional versions made with butter.
By adding a scoop of FAGE yogurt to your batter, you’re not only boosting the creaminess but also the protein content. This banana bread will be the perfect addition to your weekend baking adventures!
3. Auguson Farms Bread, Scone & Roll Mix Recipe: A Versatile Mix for Every Occasion
Sometimes, you want a quick and easy recipe that doesn’t require too many ingredients or a long prep time. If you’re looking for convenience without compromising taste, the Auguson Farms Bread, Scone & Roll Mix recipe is perfect. This versatile mix can be used to make a variety of baked goods, including breads, scones, and rolls. It’s an excellent option for busy bakers who want to enjoy homemade treats without starting from scratch.
You can customize the Auguson Farms mix by adding your own favorite ingredients, such as dried fruit, nuts, or even herbs, to suit your taste. Whether you’re in the mood for soft rolls to pair with dinner or a batch of fresh scones for breakfast, this mix can do it all.
4. Stottie Cake Recipe for the Bread Machine: Traditional Comfort
For a true taste of the North East of England, try a Stottie cake recipe for the bread machine. The Stottie cake is a round, flatbread typically baked in a very hot oven, and it’s the perfect accompaniment to meats, sandwiches, or soups. While traditionally baked by hand, using a bread machine makes the process much simpler, and you can enjoy the same great flavor with less effort.
This bread is soft and airy on the inside with a slightly crispy exterior, making it a great base for hearty fillings. If you’ve never tried Stottie cake before, you’re in for a treat with this easy bread machine recipe.
Exploring New Bread Recipes
Whether you’re looking for a healthier banana bread alternative, a creamy twist on a classic, or a versatile baking mix for quick treats, these recipes offer something for everyone. Don’t be afraid to experiment with new ingredients and techniques—baking is all about creativity! Try one (or all) of these recipes, and enjoy the warm, comforting feeling of homemade bread.
Conclusion
Congratulations on starting your homemade bread journey! This easy one-hour recipe has shown you the benefits of making your own bread. You’ve experienced the amazing aroma and the joy of making something delicious from scratch.
Learning to bake successfully means knowing your ingredients, using the right tools, and mastering mixing and kneading. Paying attention to visual cues and avoiding common mistakes helps you make perfect loaves of bread recipe. Your family and friends will be impressed.
The journey of bread-making is just as rewarding as the bread itself. Feel free to try different flours, herbs, and flavors to create your own unique bread recipe. With each try, you’ll get better and become a true artisan in your kitchen. Keep these tips in mind to make the ultimate homemade bread experience.
