
How to Make an Inexpensive DIY Rain Barrel for Your Garden
Are you tired of watching your hard-earned money flow down the drain every time it rains? Do you want to give your garden the hydration it deserves without breaking the bank? If so, this article is for you! By creating your own DIY rain barrel, not only do you save water, you also nurture your plants while helping the environment. It’s an easy project that can be done in just a few hours—let’s dive in!
Why This Works
Rainwater harvesting is an age-old practice with a modern twist. Using a rain barrel, you collect rainwater from your roof and store it for future use. This not only helps reduce your water bill but also minimizes runoff and pollution that can occur from heavy rain. With just a few materials, you can set up your own system and become part of the eco-friendly gardening movement!
Materials Needed
Before you start, gather these essential materials:
- A 50-gallon plastic barrel (you can often find these at local stores or online for around $20)
- A drill with a spade bit
- A downspout diverter or a rain barrel spigot
- A mesh screen (to keep debris and mosquitoes out)
- A food-grade barrel if possible, to ensure no harmful chemicals leach into the water
- Some rocks or bricks (for stability and elevation)
- Optional: Paint or decorative materials to customize your barrel
Step-by-Step Guide
Step 1: Prepare Your Barrel
Start with a clean, food-grade plastic barrel. Rinse it out thoroughly to remove any residual odors or chemicals. If you want to add a personal touch, paint it or cover it with decorative materials to blend in with your garden.
Step 2: Create the Overflow Outlet
Using your drill and spade bit, create a hole about 2-3 inches from the top of the barrel. This will serve as the overflow outlet, which prevents water from spilling over during heavy rains.
Step 3: Install the Spigot
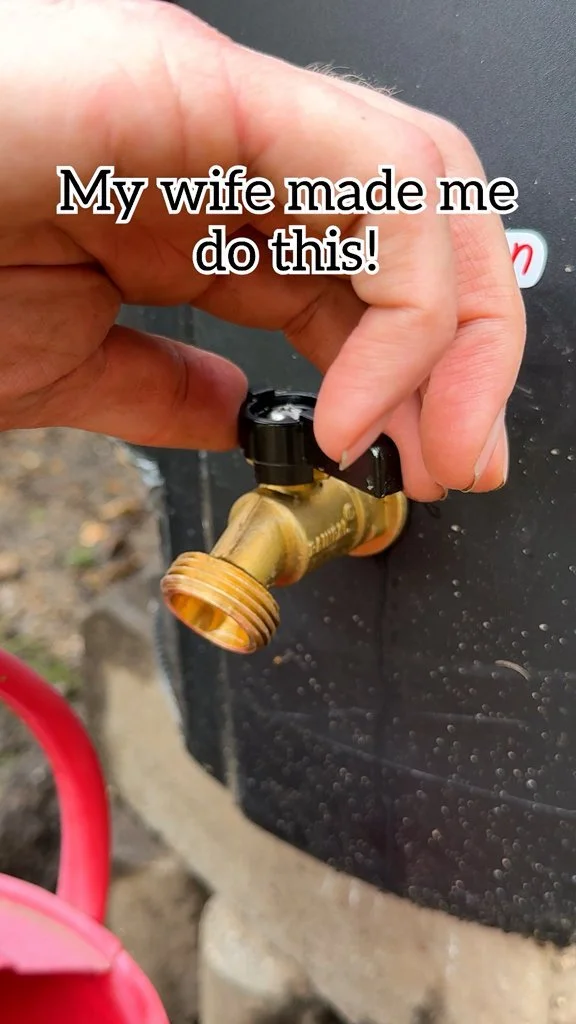
Drill another hole near the bottom of the barrel for a spigot. This will allow you to easily access the water when you need it. Insert the spigot and secure it according to the manufacturer’s instructions to prevent leaks.
Step 4: Add the Mesh Screen
Place a mesh screen over the top opening of your barrel. This is crucial as it keeps out leaves and debris, which can contaminate the water, and prevents mosquitoes from breeding in stagnant water.
Step 5: Set Up Your Downspout Diverter
Attach the downspout diverter. This allows rainwater from your roof to flow directly into your barrel while diverting excess water away. Follow the installation instructions provided with your diverter, and make sure it fits tightly.
Step 6: Position Your Barrel
Elevate your rain barrel on a flat surface using rocks or bricks, allowing gravity to help dispense water when you use the spigot. Make sure it’s stable and positioned where it can receive the runoff from your downspout.
Expected Results
Once set up, your DIY rain barrel will collect water every time it rains. You’ll find this precious resource perfect for watering your plants, washing your car, or even topping off the birdbath. Not only will your garden flourish, but you’ll also appreciate the savings on your water bill!
Extra Tips
- Consider adding a second barrel if you have a larger garden; this will increase your water storage capacity.
- Rain barrels can be painted to match your home and garden aesthetics—just be sure to use non-toxic paint.
- Regularly check and clean the mesh screen to ensure optimal water flow and cleanliness.
- Check local regulations regarding rainwater harvesting, as laws may vary by state or municipality.
Conclusion
Creating an inexpensive DIY rain barrel for your garden is not just a cost-effective solution to keep your plants healthy; it’s also a wonderful step toward sustainable living. You’ll feel pleased every time it rains, knowing you’re collecting and using nature’s gift wisely. So gather your materials, follow these simple steps, and enjoy the satisfaction that comes from being eco-friendly and self-sufficient! Happy gardening!
